To get started with MongoDB, you have to install it in your system. You need to find and download the latest version of MongoDB, which will be compatible with your computer system. You can use this (http://www.mongodb.org/downloads) link and follow the instruction to install MongoDB in your PC. In this chapter, you will learn how to setup a complete environment to start working with MongoDB.
The process of setting up MongoDB in different operating systems is also different, here various installation steps have been mentioned and according to your convenience, you can select it and follow it.
Install MongoDB in Windows
The website of MongoDB provides all the installation instructions, and MongoDB is supported by Windows, Linux as well as Mac OS.
It is to be noted that, MongoDB will not run in Windows XP; so you need to install higher versions of windows to use this database.
Once you visit the link (http://www.mongodb.org/downloads),
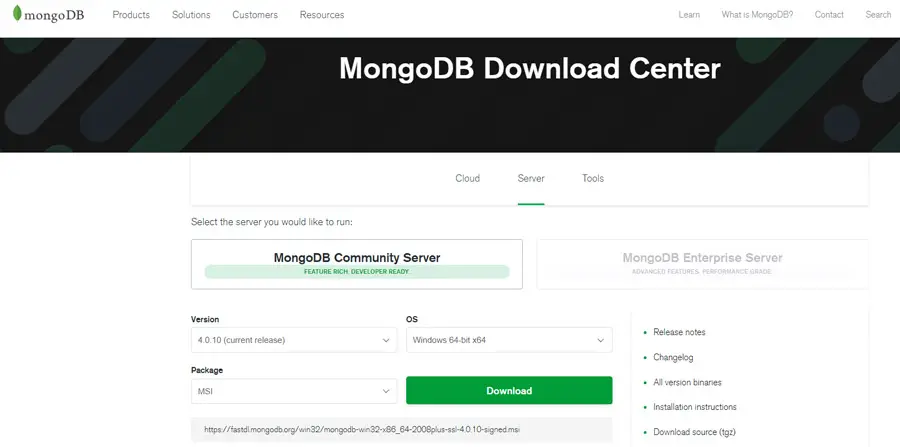
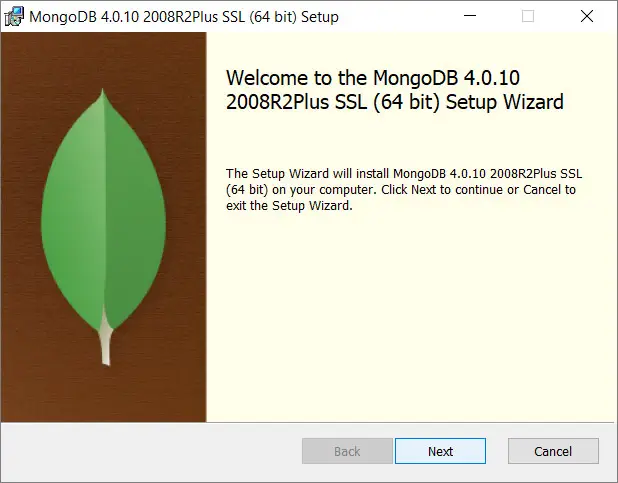
Once the download is complete, double click this setup file to install it. Follow the steps:
- Click Next.
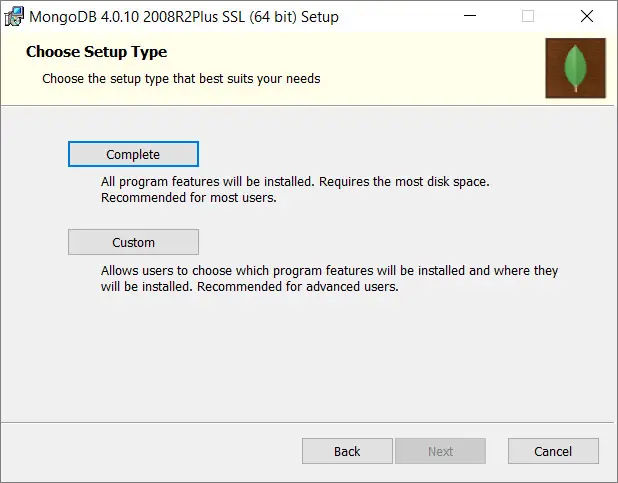
- Now, choose Complete to install MongoDB completely.
- Then, select the radio button "Run services as Network service user."

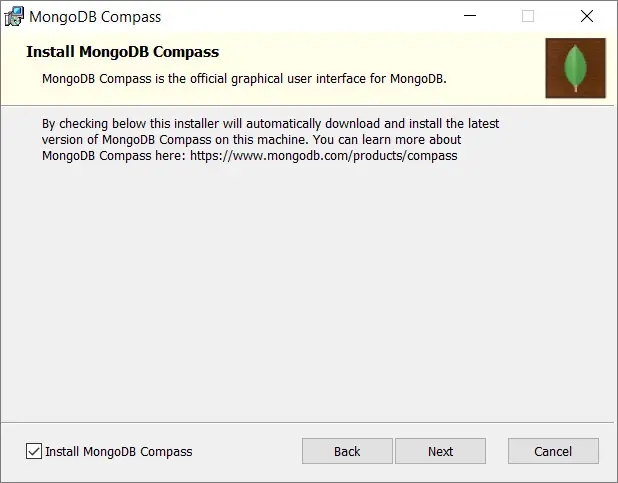
- The setup system will also prompt you to install MongoDB Compass, which is MongoDB official graphical user interface (GUI). You can tick the checkbox to install that as well.
Once the installation is done completely, you need to start MongoDB and to do so follow the process:
- Open Command Prompt.
- Type: C:\Program Files\MongoDB\Server\4.0\bin
- Now type the command simply: mongod to run the server.
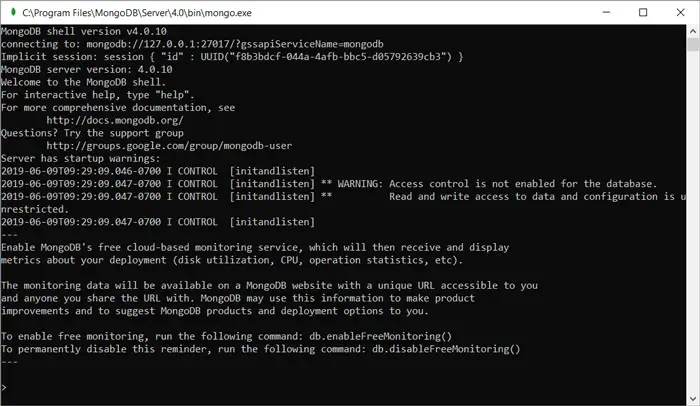
In this way, you can start your MongoDB database. Now, for running MongoDB primary client system, you have to use the command:
C:\Program Files\MongoDB\Server\4.0\bin>mongo.exe
Install MongoDB in Linux
If you are using operating systems like Ubuntu or any other Linux OS, you can make use of the command mentioned below to install MongoDB:
- Add official MongoDB repository to our server:
sudo apt-key adv --keyserver hkp://keyserver.ubuntu.com:80 --recv 0C49F3730359A14518585931BC711F9BA15703C6
- Now, you have to create a list file for MongoDB with the use of the command mentioned below:
echo "deb [ arch=amd64,arm64 ] http://repo.mongodb.org/apt/ubuntu xenial/mongodb-org/3.4 multiverse" | sudo tee /etc/apt/sources.list.d/mongodb-org-3.4.list
- Now you have to update the repository by executing the command:
sudo apt-get update
- Finally, install MongoDB using the command:
sudo apt-get install mongodb-org
To start, stop and view the status of the MongoDB service in Linux systems, you have to use the following commands:
-
sudo systemctl start mongod
-
sudo systemctl stop mongod
-
sudo systemctl status mongod