GIF is a (Graphics Interchange Format) of computer graphic file, which is very useful to create logos, icons, banners or symbols with transparency.
Some facts about GIF.
- GIF is a Graphics Interchange Format of image file
- GIF Image files are Platform independent
- GIF is an 8-bit format which means the maximum number of colors supported by the format is 256
- GIF files Support transparency
- Using a GIF for photos is not recommended because GIFs are limited to 256 colors
- GIF files also support a feature called interlacing, which preloads the graphic
In this tutorials I have created a simple and useful banner advertisement by using Photoshop, just follow the steps mentioned below and design your animated GIF banner.
Step 1
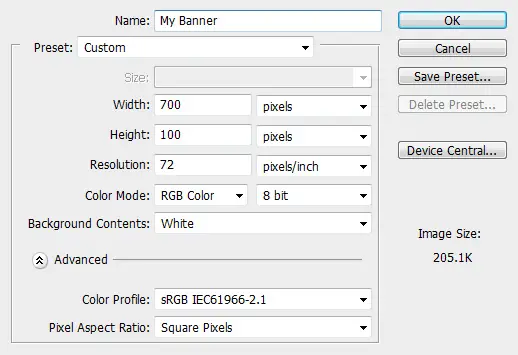
Select Photoshop -> File > create new page (according to your requirement).
Step 2
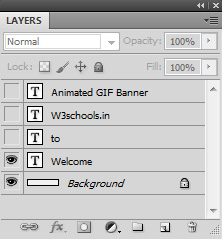
Create few new layers of animation.
Layer 1

Layer 2

Layer 3

Layer 4

Layers widget is used to manage layers in Photoshop, so Press F7 to view Layers widget if already not showing.
Step 3
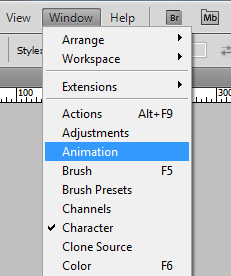
Just go to top menu Window and launch Animation. It will help you to apply the animation effect to your image.
Step 4
Animation frames appear like this, by default it will select top layer image.

Step 5
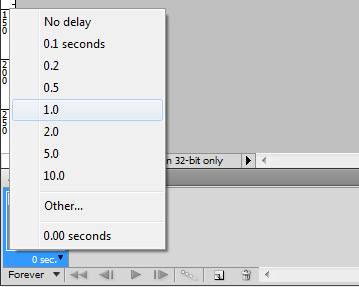
By clicking on time, you can set the animation frame timing in seconds.
Step 6
By creating the second layer, you can duplicate the existing layer.

Step 7
Select the second layer.
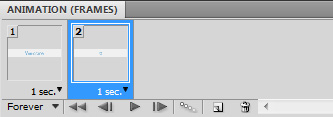
Enable second layer image visible for the second frame and hide previous frame visibility.
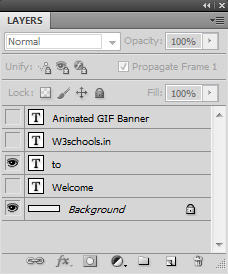
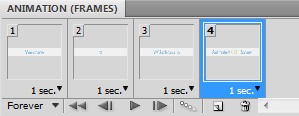
You can follow the same for all frames if you want to increase the frame timing click on the frame and follow step 5.
Step 8
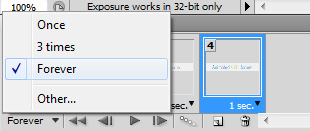
For repeating this animation just change Once to Forever Animation
Step 9
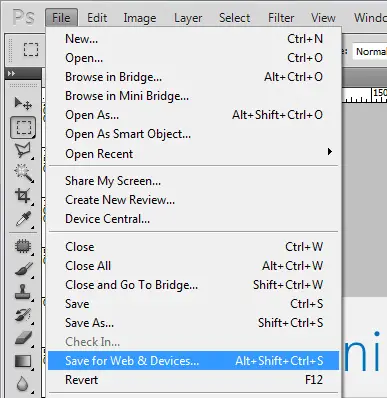
The final step to save the image into GIF format. Go to File and launch Save for Web & Devices
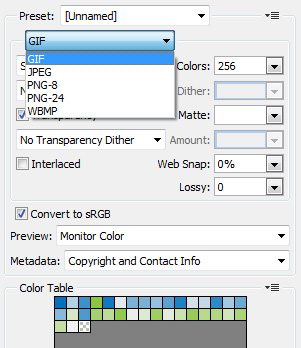
Select the GIF format and save done.
You have successfully created an animated GIF banner by using Photoshop.
