Programmers who are in the constant implementation of PHP and its various scripts in their projects know how tedious it becomes to repeat the same process to perform important tasks. However, there is a dependency manager that can help resolve this type of issue. In this chapter, you will learn what a dependency manager is and how PHP Composer benefits PHP developers in their workflow.
What Is Dependency Manager?
A dependency manager can be defined as a software tool to manage (install, upgrade, configure, and remove) the various types of libraries required by a project in a logical and meaningful way.
What Is PHP Composer?
The PHP Composer can be defined as a dependency manager or dependency management tool specifically built for PHP. Using PHP Composer, you can easily download and incorporate useful and essential packages (stable libraries created by other developers) into your project via the terminal.
PHP Composer is considered one of the most suggested tools inspired by the node's npm and ruby's bundler. It can solve fundamental issues in the mainstream of web development projects.
Downloading and Installing PHP Composer
PHP Composer Installation on Windows OS
If you are a Windows user, download the setup file from getcomposer.org and install the PHP Composer. This process is quite self-explanatory. Just remember to set your PATH environment variable so that you can call Composer from any directory.
PHP Composer Installation on Linux/Unix/macOS
To install the Composer, go to your new project folder and enter the following command in the terminal or command prompt:
$ curl -s https://getcomposer.org/installer | PHP
The above command will only install PHP composer for a single project, and you will now have a composer.phar file, which will be inside the root directory of your project. To make PHP Composer globally available, move this "composer.phar" file to /usr/bin/ directory.
$ sudo mv composer.phar /usr/bin/composer
To ensure that the composer is successfully installed, you can now execute the command as described below. If it is successfully installed, you will see a list of composer commands in the output.
$ composer
Package Installation Using Composer
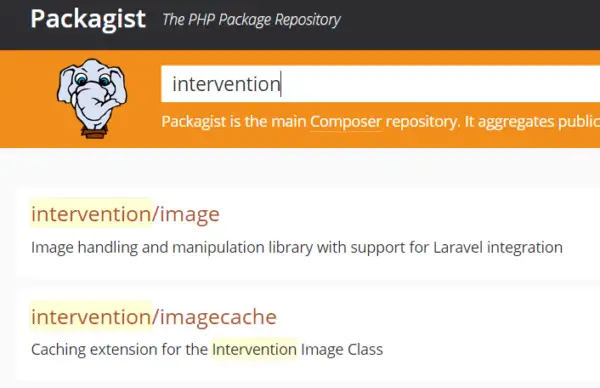
Now it is time to search for a package in packagist.org. Packagist is the primary package repository for PHP Composer, and by default, the composer uses packagist.org to search for packages. This is where you can publish your packages, and you can also look to use other developer's packages.
Practical Scenario to Use PHP Composer
Let's consider the scenario where you are working with images in your PHP application, and you need to resize and compress these images. Here you can use the image processing functions that come with PHP by default.
Then you start coding, and you realize that you are going to spend much time developing this functionality as per your project needs. This is good, but it takes time to do that, which will increase the cost of the project. Here in this situation, you can use PHP Composer, and you can tell the Composer that you want a specific version of the image processing library.
As mentioned earlier, you can easily find the required package on Packagist:


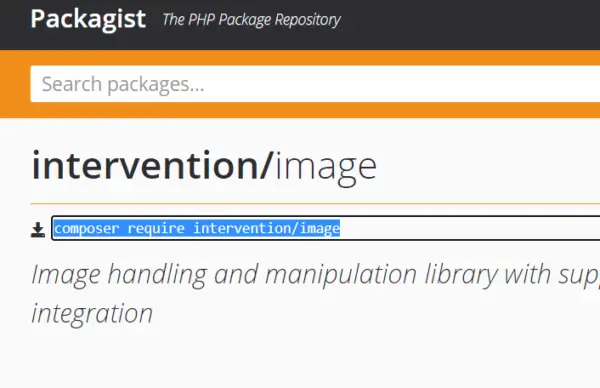
To install the above package, go to your project folder and enter the following command in the terminal or command prompt:
Example:
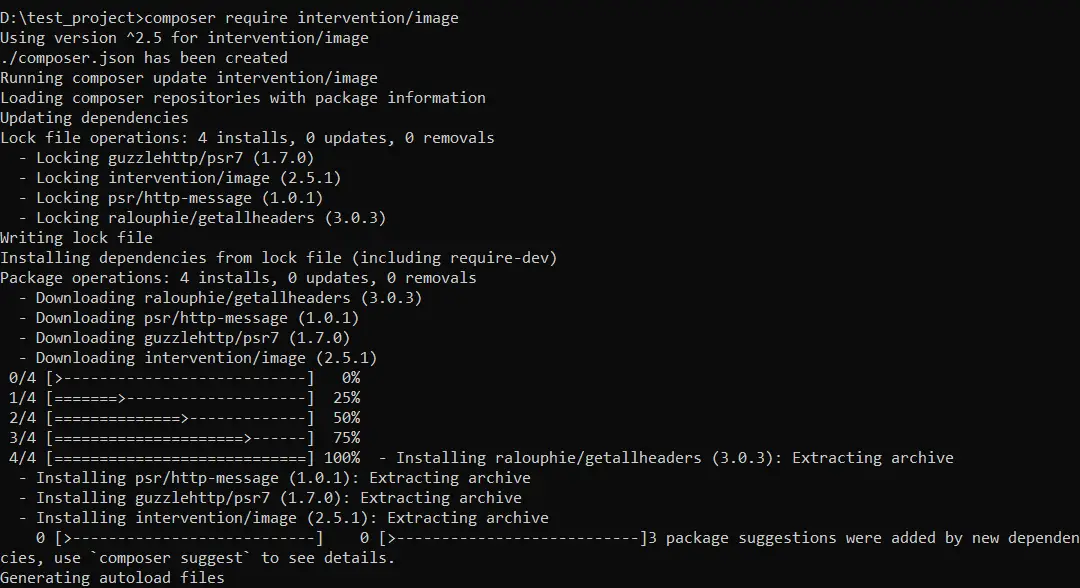
$ composer require intervention/image

The composer downloads the specific version of the library into the vendor directory under your project and provides you with an autoloader. Now you can easily use it in your project like the code given below:
Example:
<?php

// include composer autoload
require "vendor/autoload.php";

// import the Intervention image manager class file
use Intervention\Image\ImageManagerStatic as Image;

$Image = Image::make("upload/image.jpg")->resize(200, 200)->save("img/thumbnail.jpg",100);

?>
Also, you can see that it will create a composer.json file inside the project folder. Here you can see a list of dependencies that have been used in this project and are required to run this project.
composer.json file:
{
    "require": {
        "intervention/image": "^2.5"
    }
}
During a new installation, if the project contains a composer.json file, it can directly establish dependencies using the Composer installation command at the terminal or command prompt.
$ composer install