One ground for which WordPress is so popular is because of the low system requirements desirable for running the CMS on a web server. Many hosting services also use various auto-installers to make the WordPress installation procedure as simple as possible. With the use of auto-installers, users no longer had to deal with record creation or uploading files. This tutorial will teach you about WordPress's system requirements and installation process. Complete WordPress installation is an effortless task and takes less than five minutes.
cPanel and cloud hosting has one-click WordPress installation facilities, but you can also install it by uploading files directly into the web server.
System requirements for WordPress installation
- If you are using Windows, you require installing WAMP (Windows, Apache, MySQL, and PHP).
- If you are using Linux, you require installing LAMP (Linux, Apache, MySQL, and PHP).
- If you are using MAC, you require installing MAMP (Macintosh, Apache, MySQL, and PHP).
- Or you can also install XAMPP, which is Multi-platform and comes with (Apache, MariaDB, PHP, and Perl).
- WordPress is compatible with PHP 5.2+ and MySQL 5.0 +
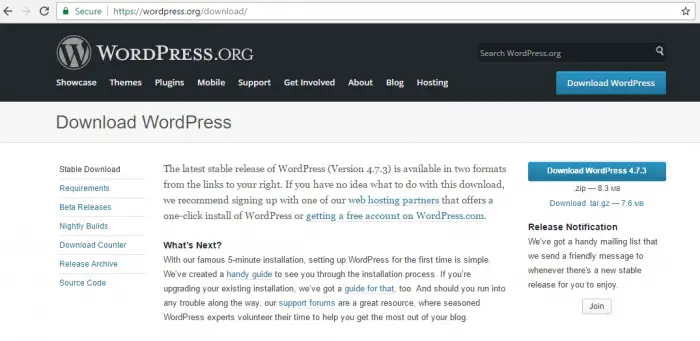
Download WordPress
WordPress is a free and open-source platform under the GNU General Public License (GPL), and you can download it directly from WordPress's official website. You can also open the https://wordpress.org/download/ link now to download WordPress.
WordPress Installation
- First, you need to download WordPress and upload it into your localhost or web server project folder.
- Then you are required to open your web browser and navigate the URL of the WordPress folder path (In the case of localhost URL will be http://localhost/wordpress_project_folder_name).
- Next, WordPress installation requires an empty MySQL database, so you require to create it before.
- Next, the WordPress Setup wizard will ask you for initial information about the website, which is mentioned below.
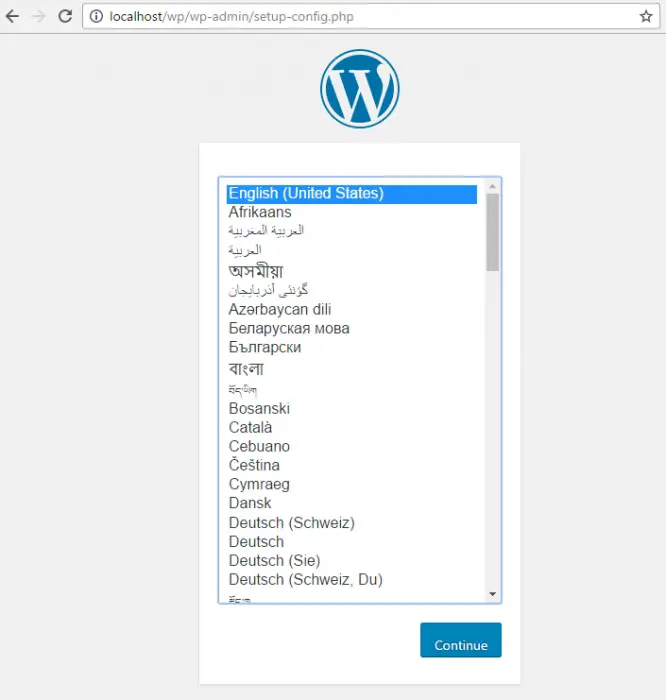
Step 1: The WordPress installation setup will ask you about your language preference in the first step. Here you have to choose the language of your choice and press Continue.
Step 2: The second stage provides the required information before proceeding.
Step 3: You must provide MySQL database connection credentials in this installation step. It will ask to enter the information related to the MySQL database. Here is the list of fields that the screen will be asking you to insert:
- Database Name: This will be the name of the database that you have already created in the MySQL database to use WordPress.
- Username: It will be the user name data for your database.
- Password: Here, you must enter your MySQL database's password.
- Database Host: is where you have to insert the hostname; the default is "localhost".
- Table Prefix: is implemented to add prefixes in the database tables, which help run multiple sites on the same database.
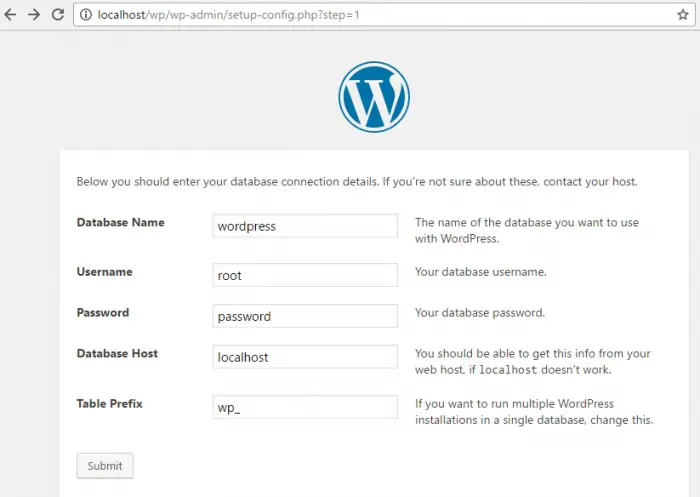
Once you provide all the information, press the Submit button.
Step 4: The installation setup checks the authentication of database credentials and provides you with a confirmation.
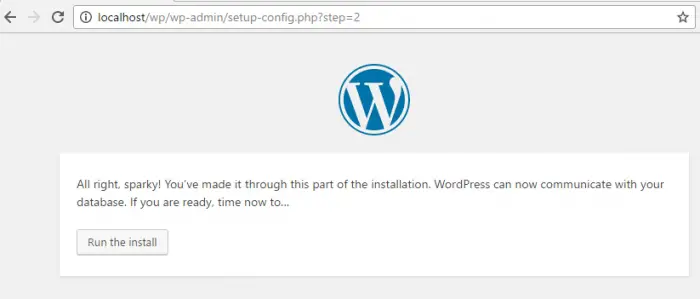
If you have provided the correct MySQL credentials, a new screen will come up with the option "Run the Install".
Click the "Run the Install" button.
Step 5: This is the final step, where you must provide site admin information.
Enter the administrative information; the form will have the following fields:
- Title of the site
- Username
- Password
- Your Email address
- Check-box to allow search engines to index the site.
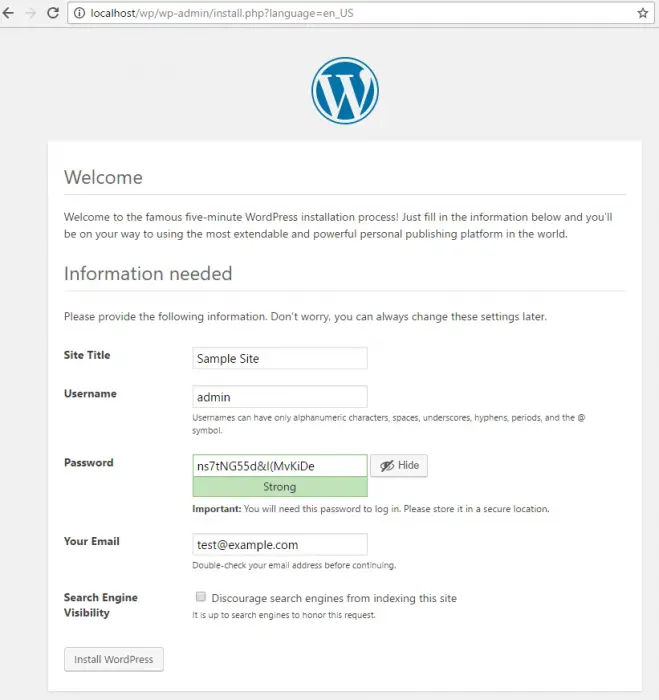
Once you fill required data in the form, click the "Install WordPress".
Step 6: The admin panel will come up with a login screen. Enter the username and password you have chosen on the previous screen and log in.
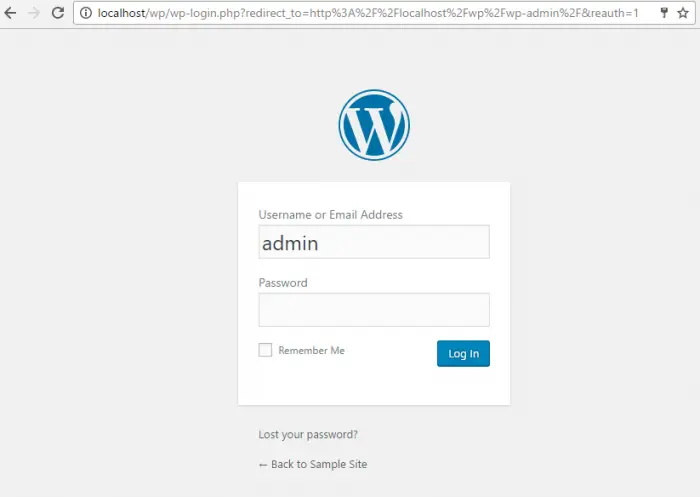
That's it; you have successfully installed WordPress.